
Auf zum schönsten Biotop im Glas!
Lass dich von unseren ausgewählten Biotopen unter handgefertigtem Glas inspirieren. Unsere Flaschengarten-Sets richten sich an alle, die ihr Zuhause oder ihren Arbeitsplatz etwas wohnlicher und grüner gestalten möchten – und das möglichst pflegeleicht. Sie eignen sich natürlich auch als originelles Geschenk und halten sehr viel länger als ein herkömmlicher Blumenstrauß.

Qualität und Nachhaltigkeit
Wir haben sehr hohe Qualitätsanforderungen und wählen ausschließlich Rohstoffe, die gut für dich und für unsere Umwelt sind. Eure Zufriedenheit ist uns wichtig.
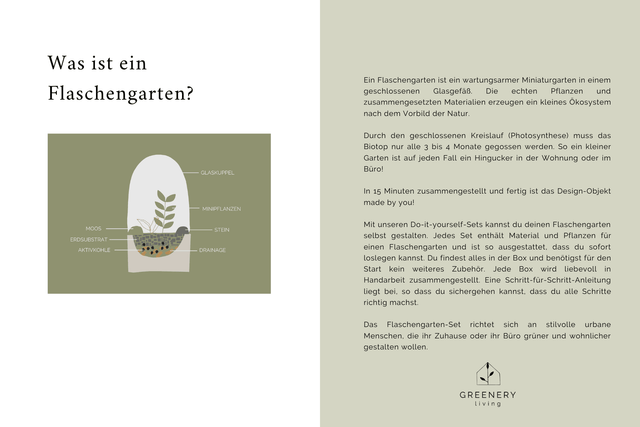
Was ist ein Flaschengarten?
Ein Flaschengarten ist ein wartungsarmer Miniaturgarten in einem geschlossenen Glasgefäß. Die Pflanzen und das von uns speziell zusammengestellte Zubehör erzeugen ein kleines Ökosystem nach Vorbild der Natur. Dank der Photosynthese in einem geschlossenen Kreislauf muss das Biotop nur 3 bis 4 mal im Jahr gegossen werden.
Flaschengarten selbst gestalten
Alle Bestandteile sind bereits im Set enthalten – und mit der beiliegenden Schritt-für-Schritt-Anleitung ist der Aufbau in 15 Minuten erledigt.
1. Materialien einfüllen

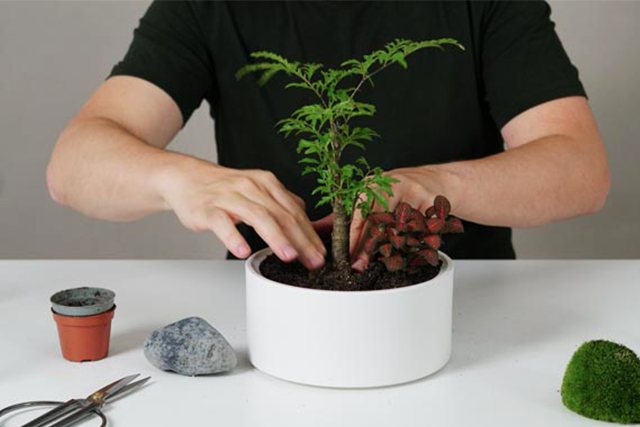
2. Pflanzen einsetzen
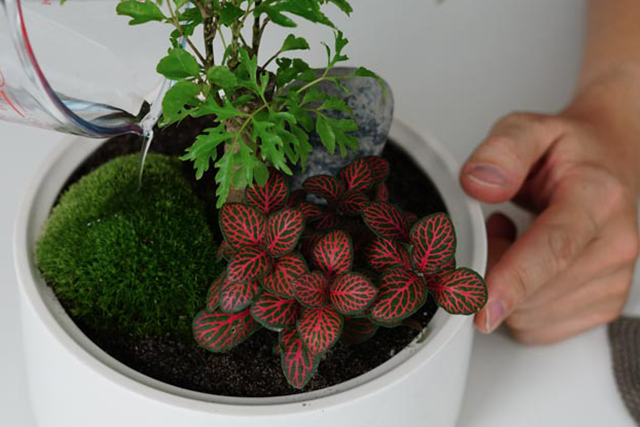
3. Gießen und genießen
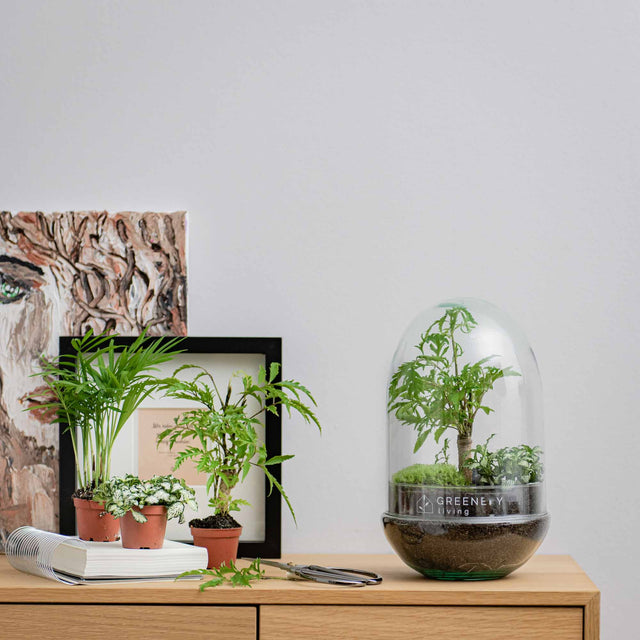
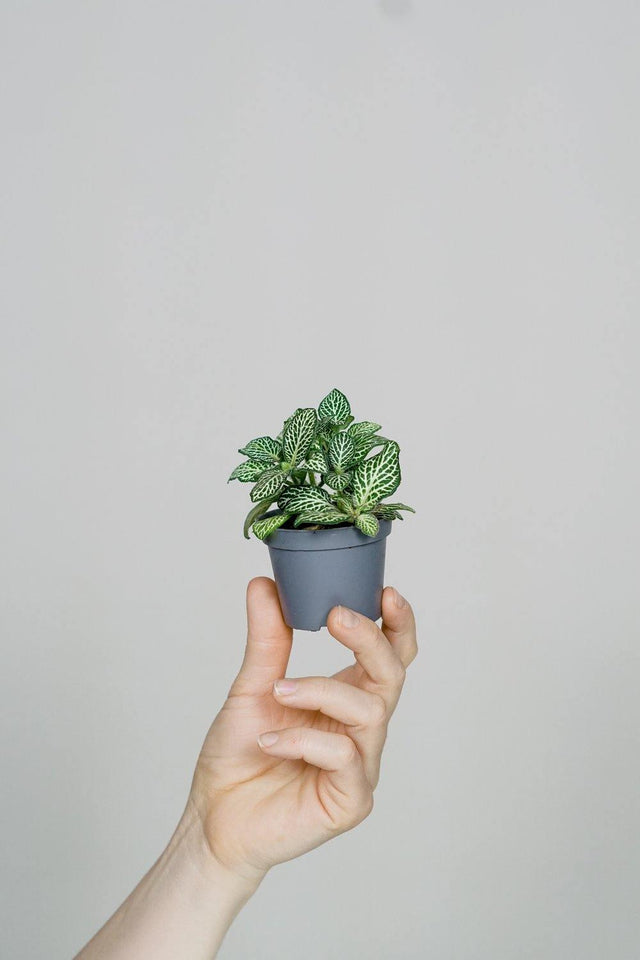
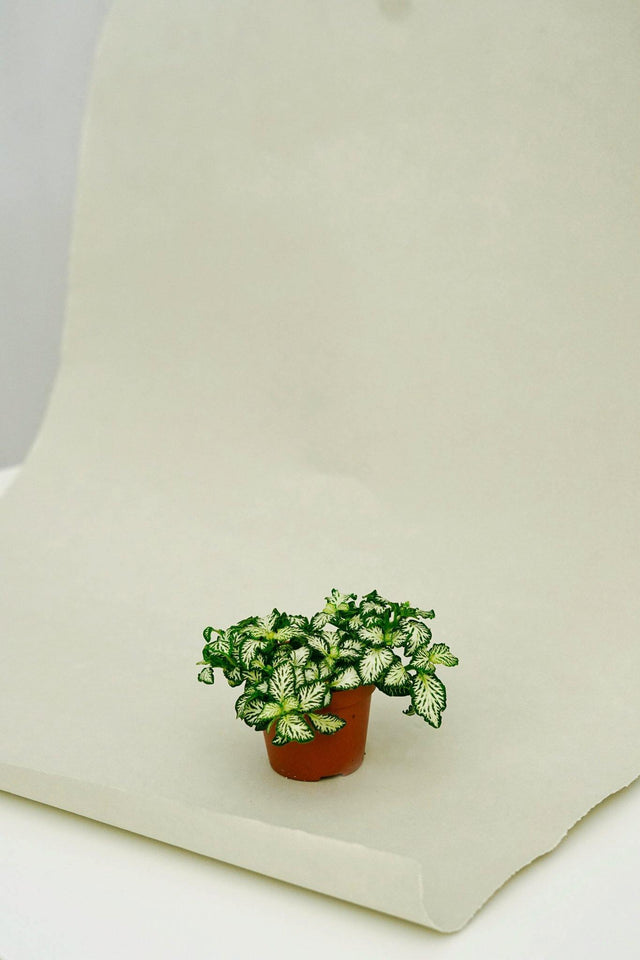
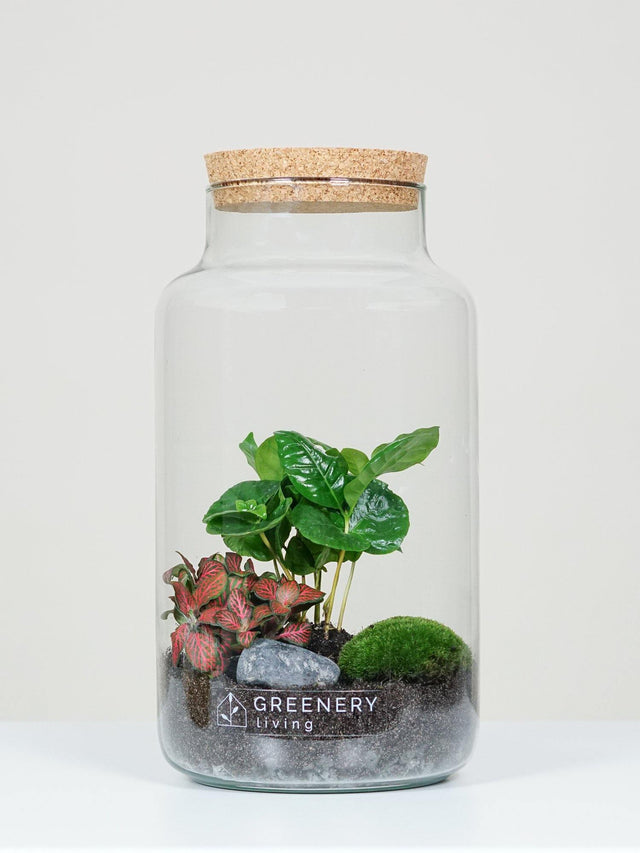
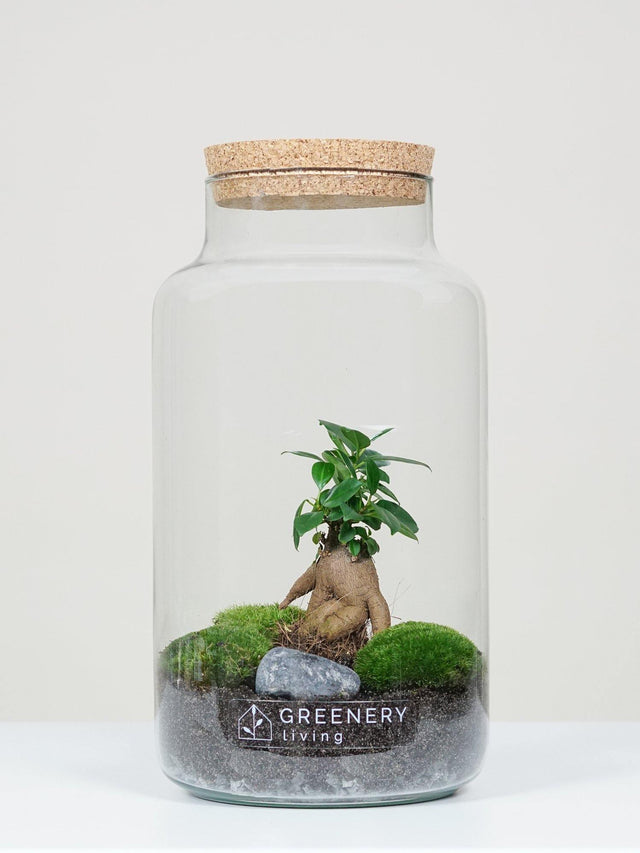
Mini-Pflanzen für dein Terrarium
Lass dich von unseren Zimmerpflanzen inspirieren, um deinen Garten im Glas selbst zu gestalten. Sie alle stammen aus Züchtungen, die einem nachhaltig ökologischen Anbau verpflichtet sind.


Beliebte Flaschengarten-Sets
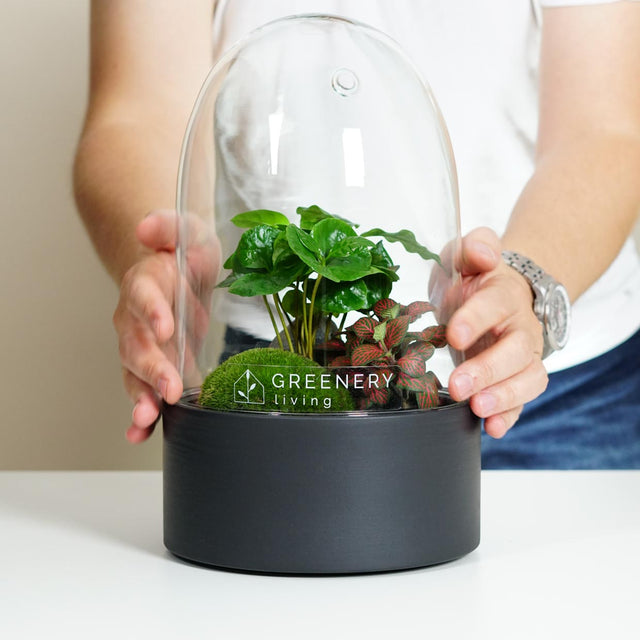
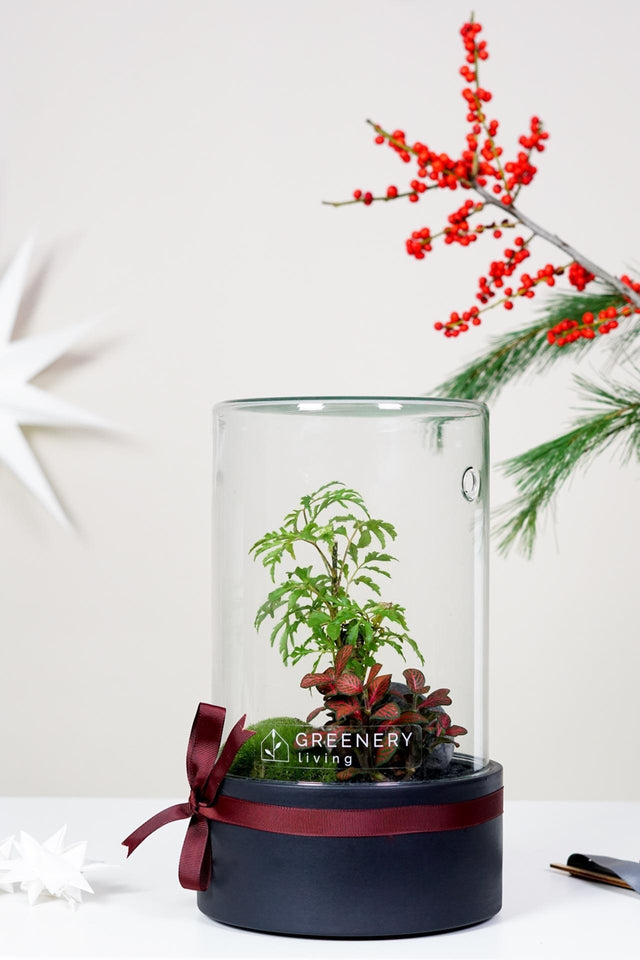
zu den häufig gestellten FragenFlaschengarten CORK-Serie DIY-Set

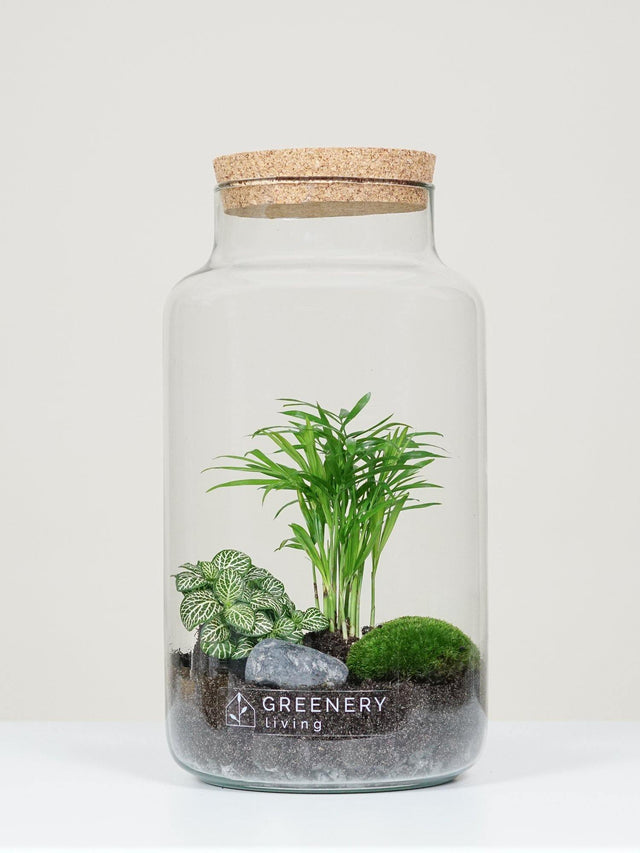
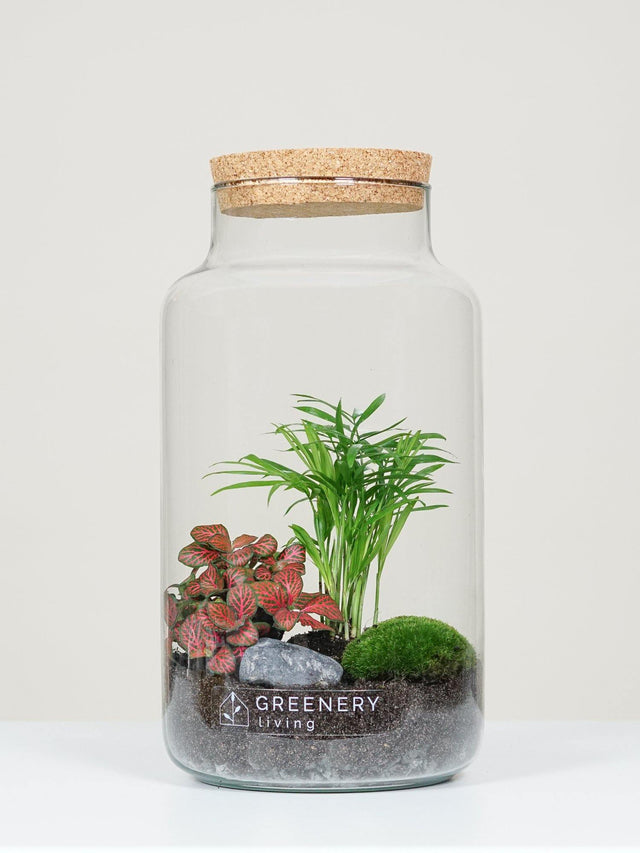
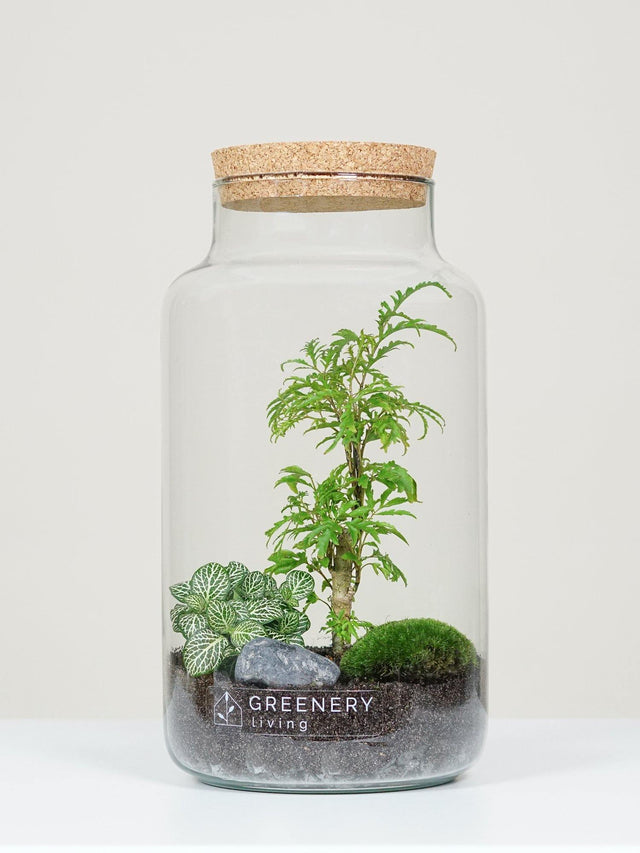
Flaschengarten CORK-Serie DIY-Set
Das Flaschengarten DIY-Set beinhaltet:
- handgefertigtes Glasgefäß mit Korkdeckel
- Höhe: 35 cm
- Durchmesser: 19 cm
- Durchmesser Öffnung: 12,5 cm
- Höhe Korkdeckel: 3,5 cm
- Schritt-für-Schritt-Anleitung (10 bebilderte und erklärte Schritte)
- Lava-Kies als Drainage
- Aktivkohle-Granulat gegen Schimmelbildung
- Pflanzsubstrat speziell von uns entwickelt und in der richtigen Menge und Dosierung zusammengemischt
- Dekorations-Stein
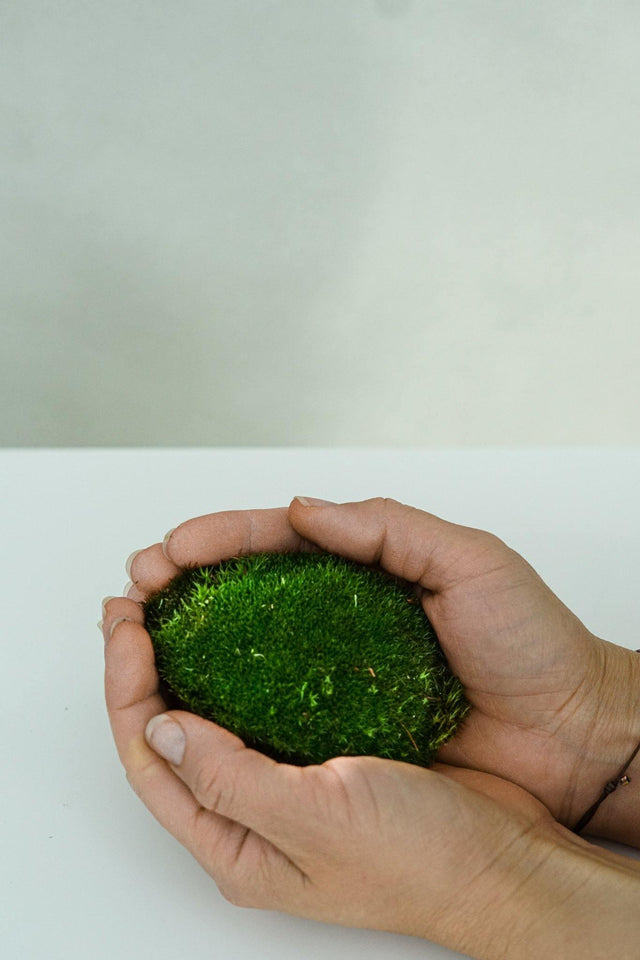
- 1 x Moospolster
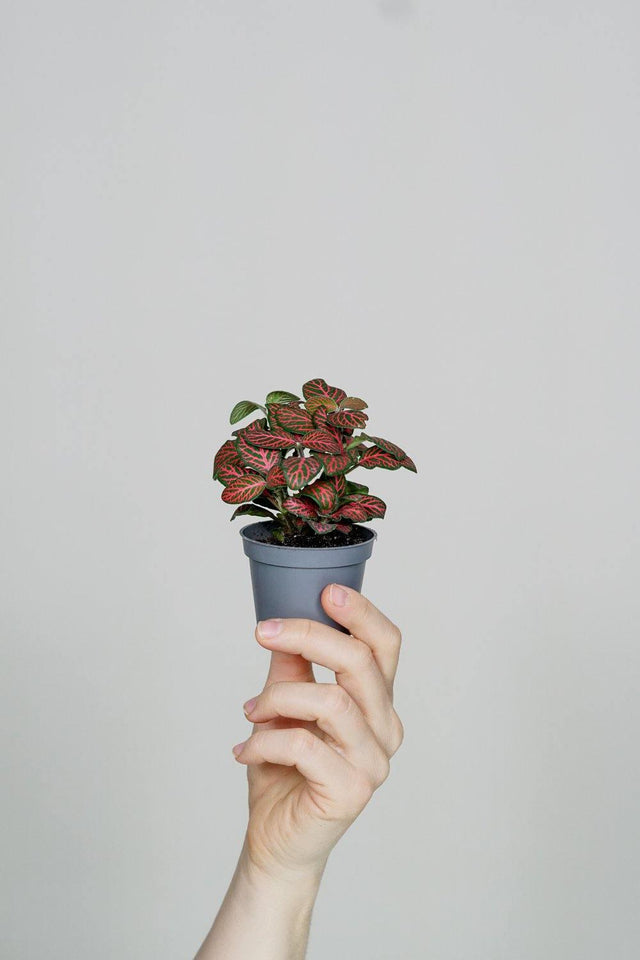
- 2 x Minipflanzen vom Züchter
Lieferzeit: versandfertig innerhalb von 2-4 Werktagen.
ACHTUNG: Bei Temperaturen unter 0 Grad können wir keine Pflanzen versenden!
Digitaler Geschenk-Gutschein für Flaschengarten DIY-Set

Digitaler Geschenk-Gutschein für Flaschengarten DIY-Set
Dies ist eine digitaler Geschenk-Gutschein. Nach dem Kauf erhältst du eine E-Mail mit der Geschenkkarte und Anweisungen zu deren Verwendung. Der Gutschein-Code kann als Zahlungsmittel für alle von uns angebotenen Produkte verwendet werden.
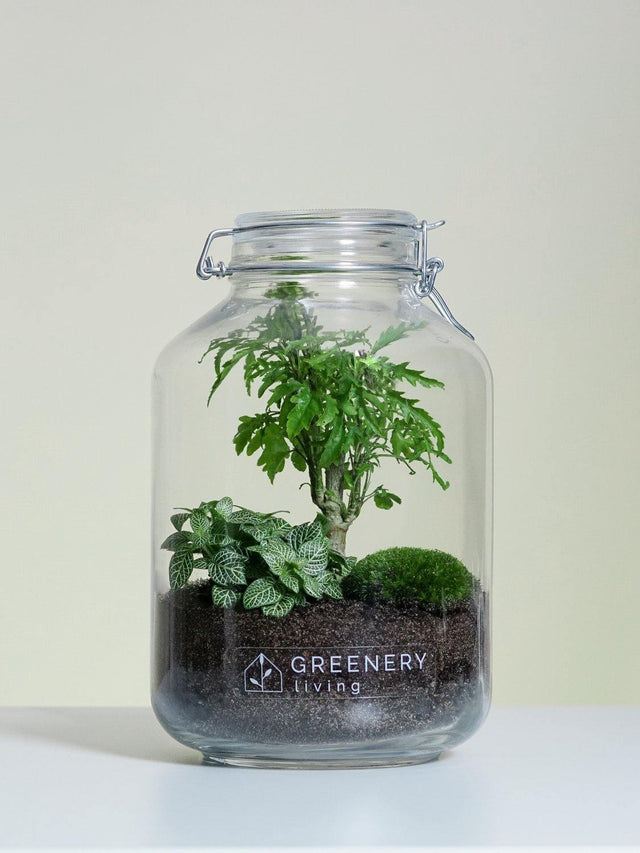
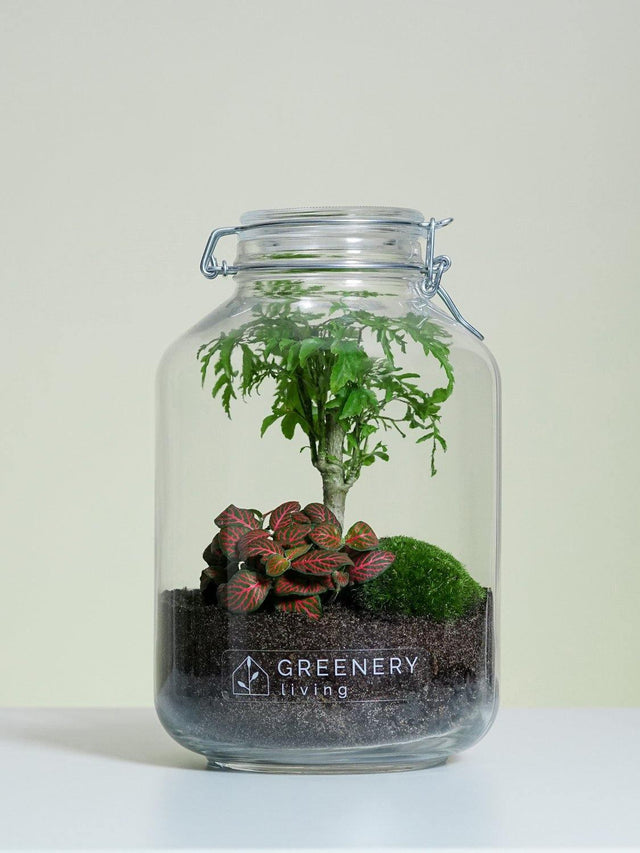
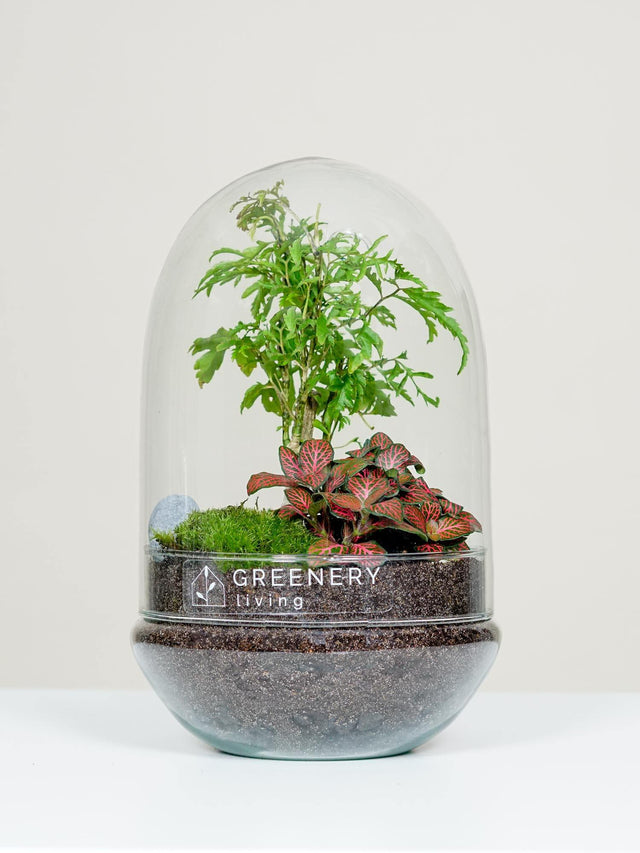
Flaschengarten der Jar-Serie: 59,95 Euro
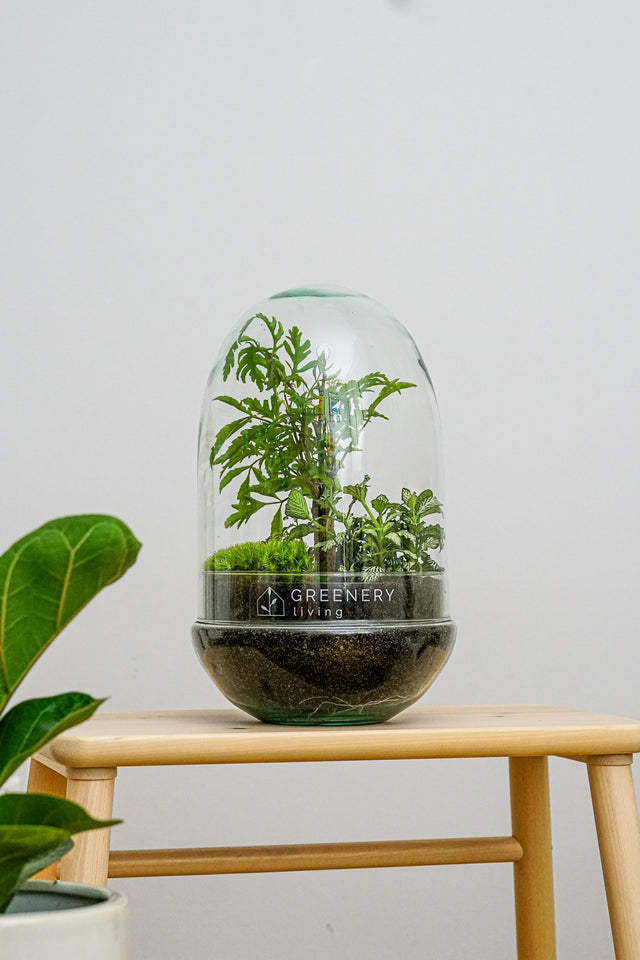
Flaschengarten der Egg-Serie: 69,95 Euro
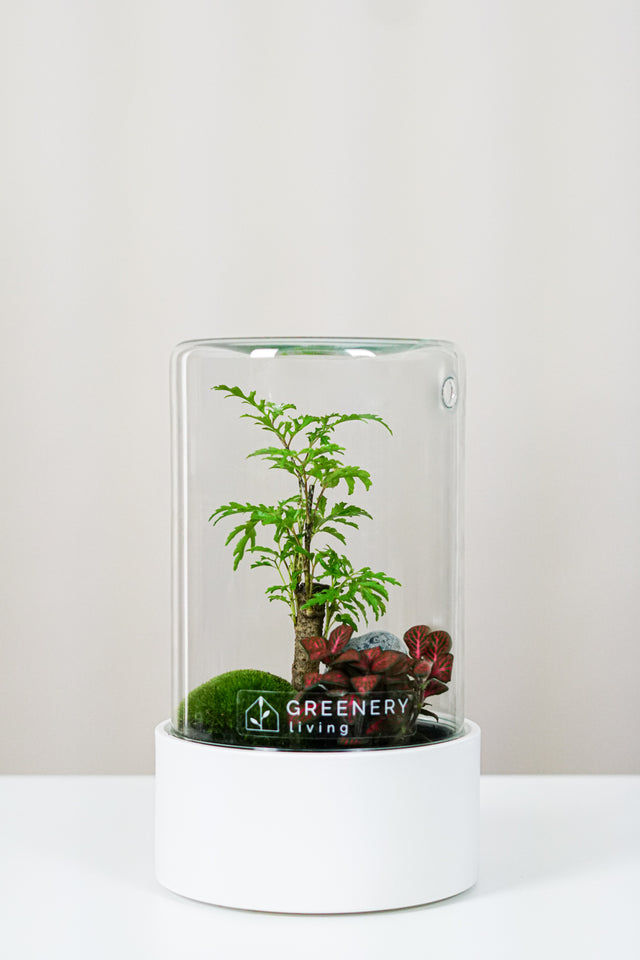
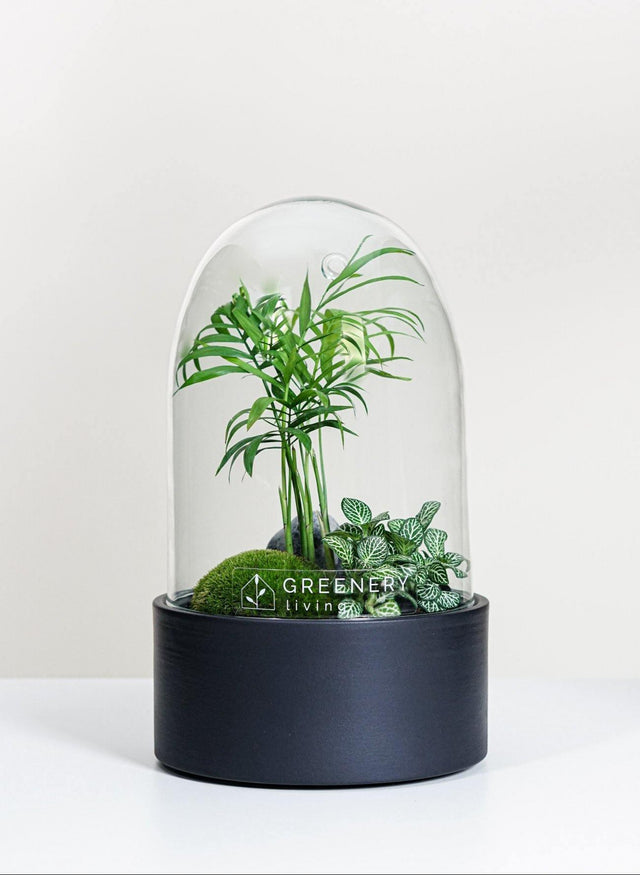
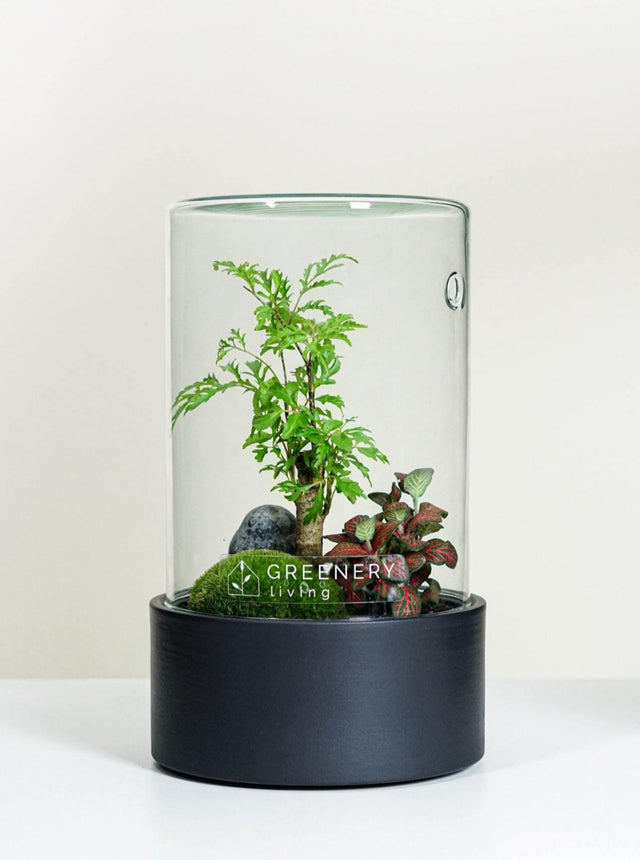
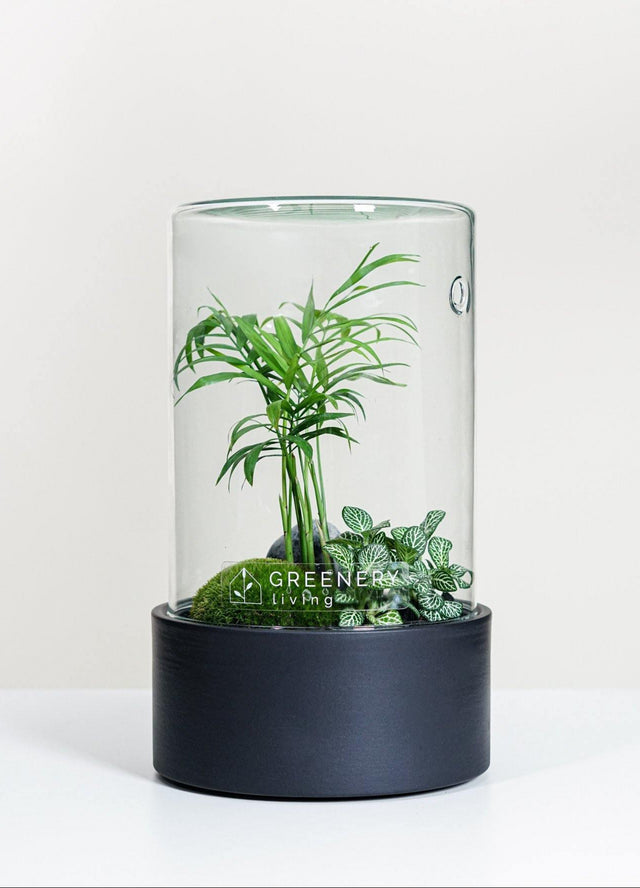
Flaschengarten der Tube-Serie: 69,95 Euro
Flaschengarten der Cork-Serie: 79,95 Euro
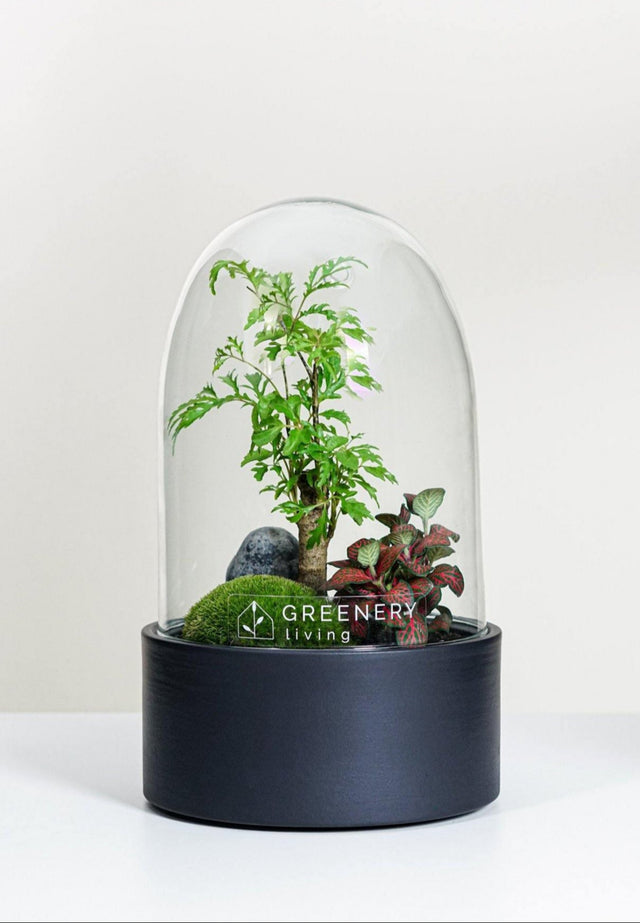
Flaschengarten der Cera-Serie: 119,95 Euro
Damit du was zum Verschenken hast, haben wir eine schöne Vorlage für dich vorbereitet. Hier kannst du die Vorlage downloaden, ausdrucken und den gekauften Gutscheincode eintragen.
Alles rund ums Biotop
Alle anzeigen


Wenn Du noch kurzfristig ein originelles Geschenk brauchst, keine Lust zum Selberbauen hast und gerade in Berlin bist…
Möchtest du einen schon fertigen Flaschengarten?
Flaschengärten in Berlin
Fertige Flaschengärten in Berlin Prenzlauer Berg
Blumenfisch Design
Fertige Flaschengärten in Berlin-Schöneberg
Blumenfisch Store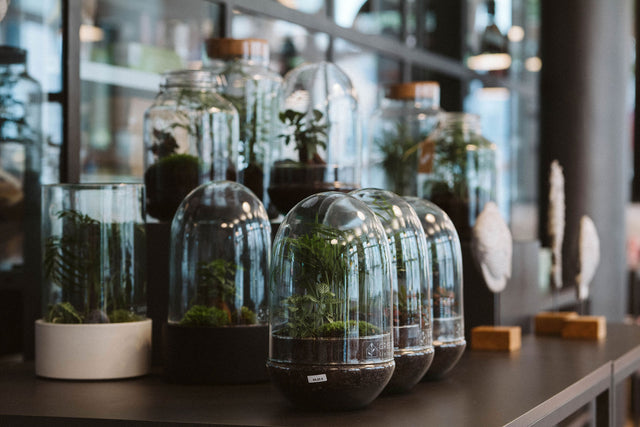
Fertige Flaschengärten in Berlin-Charlottenburg
Futomania
Häufig gestellte Fragen
Ein Flaschengarten ist ein Miniaturgarten in einem geschlossenen Glasgefäß, um den man sich kaum kümmern muss. Die echten Pflanzen und zusammengestellten Materialien erzeugen ein kleines Ökosystem nach Vorbild der Natur. Durch den geschlossenen Kreislauf und die Photosynthese muss das Biotop nur alle 3 bis 6 Monate gegossen werden.
Die Feuchtigkeit bleibt im Glas erhalten und wird immer wieder verwendet. Es entsteht ein geschlossener Wasserkreislauf.
Transpiration: Wasser verdunstet über die Blätter der Pflanzen.
Kondensation: Feuchtigkeit kondensiert am Glas.
Niederschlag: Das kondensierte Wasser rinnt zurück in den Boden, ähnlich wie der Regen in der Natur.
Absorption: In der der Erde absorbieren die Wurzeln das vorhandene Wasser.
Atmung: Nachts produzieren die Pflanzen CO₂. Tagsüber wird dies mit ausreichend Licht per Photosynthese in Sauerstoff verwandelt. Es entsteht ein geschlossener Gaskreislauf.
Als geschlossenes Biotop muss der Flaschengarten kaum gegossen werden. Die Pflanzen vertrocknen nicht, da die Feuchtigkeit im Glas erhalten bleibt.
Haustiere können die Pflanzen nicht abfressen, da sie unter Glas geschützt sind.
Ist das System des Flaschengartens einmal eingespielt, bleibt es über Monate wartungsarm und stabil.
Schritt 1: Lava-Kies als Drainage gleichmäßig einfüllen.
Schritt 2: Aktivkohle ebenso gleichmäßig über den Lava-Kies verteilen.
Schritt 3: Pflanzensubstrat einfüllen, anschließend mit der Hand verdichten und drei kleine Löcher bis zum Lava-Kies freilegen.
Schritt 4: Pflanzen durch seitliches Drücken und auf den Kopf stehend aus dem Blumentopf herausnehmen und in die Löcher setzen. Von allen Seiten vorsichtig andrücken.
Schritt 5: Den Dekorations-Stein platzieren und leicht andrücken.
Schritt 6: Mit einem Messbecher 100 ml kalkarmes Wasser, idealerweise Regenwasser gleichmäßig im Glas verteilen. Anschließend das Glas verschließen und an einem hellen aber nicht sonnigen Ort platzieren, bestenfalls an einem Nord- oder Ostfenster.
Schritt 7: Nach etwa 2 bis 3 Tagen ist die Feuchtigkeit gleichmäßig im Boden verteilt. Dann das Gefäß für etwa 24 Stunden öffnen, bis die oberflächliche Feuchtigkeit verdunstet ist. Diesen Vorgang wiederholen, bis das Glas tagsüber nicht mehr beschlägt. Ein leichter Beschlag am Morgen ist normal und zeigt, das das Biotop gut arbeitet.
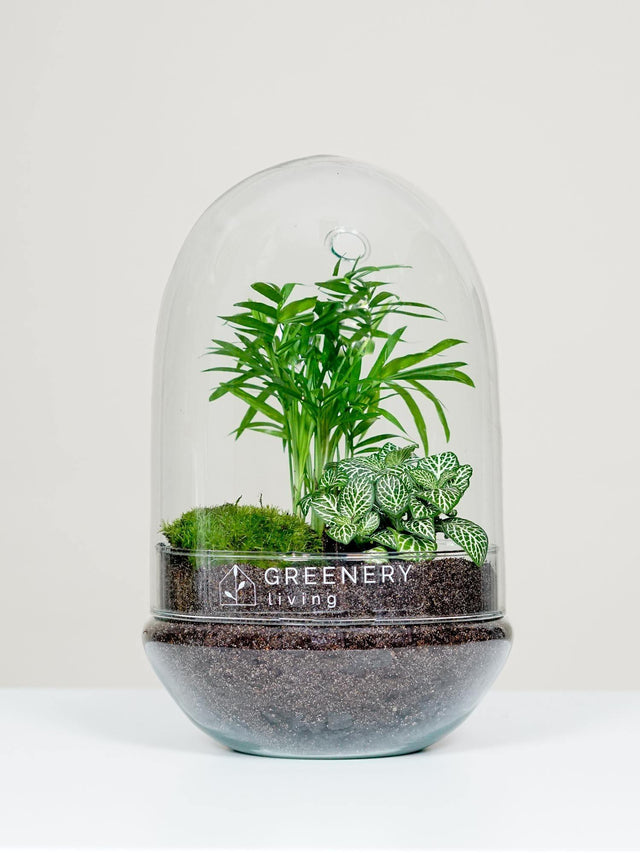
Für einen Flaschengarten eignen sich tropische Pflanzen, die warme und feuchte Temperaturen gewohnt sind. Da der Platz in der Flasche begrenzt ist, eignen sich vor allem Minipflanzen, wie beispielsweise Kaffeepflanzen, Bonsai, Bergpalmen oder Mosaikpflanzen. Wichtiger Bestandteil ist vor allem das Moos, da es ein Zeichen gibt, wenn es mal wieder Zeit zum Gießen ist.
Der Flaschengarten benötigt nicht viel Pflegeaufwand. Wenn das Moos die Farbe verliert oder eine Seite des Glases morgens nicht mehr beschlägt, ist dies ein Zeichen dafür, dass der Garten frisches Wasser benötigt. Füge 50 bis 100ml hinzu. Nach etwa 2 bis 3 Tagen ist die Feuchtigkeit gleichmäßig im Boden verteilt. Dann das Gefäß für etwa 24 Stunden öffnen, bis die oberflächliche Feuchtigkeit verdunstet ist. Diesen Vorgang wiederholen, bis das Glas tagsüber nicht mehr beschlägt. Ein leichter Beschlag am Morgen ist wiederum normal und zeigt, das das Biotop gut arbeitet.
Bitte beachte, dass der Flaschengarten an einem hellen Ort mit möglichst konstanter Zimmertemperatur stehen sollte. Ein Nord- oder Ostfenster ist ideal, direkte Sonneneinstrahlung ist wiederum unbedingt zu vermeiden.
Damit die Pflanzen im Terrarium ihre Fotosynthese betreiben können, benötigt der Flaschengarten ausreichend Licht. Nur so kann das CO₂ in O₂ verwandelt werden und ein geschlossener Kreislauf entstehen.
Das entstandene Ökosystem sollte 3 bis 4 Mal im Jahr mit kalkfreiem Wasser, wie Regen- oder Mineralwasser, gegossen werden. Wenn das Moos die Farbe verliert und eine Seite vom Glas morgens nicht mehr beschlägt, ist dies ein Zeichen dafür, dass der Flaschengarten Wasser benötigt.
Um einen Flaschengarten zu bepflanzen wird Lava-Kies als Drainage, Aktivkohle-Granulat gegen Schimmelbildung sowie Pflanzsubstrat benötigt. Wir bieten einen Komponenten-Set. Die tropischen Pflanzen können nach Belieben ausgesucht und mit Steinen oder Kies verziert werden.
Die Pflanzen im Glas bilden ein kleines Ökosystem. Das vorhandene Wasser steigt nach oben und fließt an der Glaswand zurück in den Boden. Wenn die Blätter abfallen dienen sie als Dünger. So werden die Pflanzen mit allem versorgt, was sie brauchen.
Diese Medien empfehlen unsere Flaschengärten weiter