How do I create a CORK bottle garden? Step-by-step instructions for CORK series
Before creating your first bottle garden, ask yourself: How much soil do I need? Which drainage is best? Are the plants starting to get moldy? How do you create the perfect ecosystem so that it works?
We have made countless attempts to achieve the perfect operations. And to make it easier for others, we put together a set that worked best based on our tests. We would like to share this with you in the following guide.
STEP 1

Tip: Hold the glass jar at an angle and let the gravel slide down the side wall to avoid the risk of breakage.
STEP 2

Distribute the activated carbon from bag B evenly over the lava gravel to prevent mold.
STEP 3

Carefully fill in the plant substrate from bag C.
Tip: Please use an underlay, e.g. old newspaper, to prevent soiling.
STEP 4

Compact the plant substrate carefully and evenly by hand and then use your fingers to dig 3 small plant holes (for 2 small plants and moss) on the edge of the glass, which are deep down to the lava gravel.
Tip: A previously created sketch for the arrangement helps.
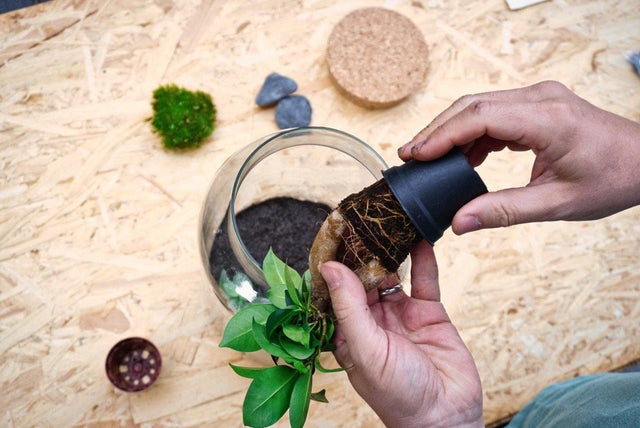
STEP 5

Take the plants out of the flower pot by pushing them to the side and standing upside down and place them in the holes. Press carefully but firmly on all sides.
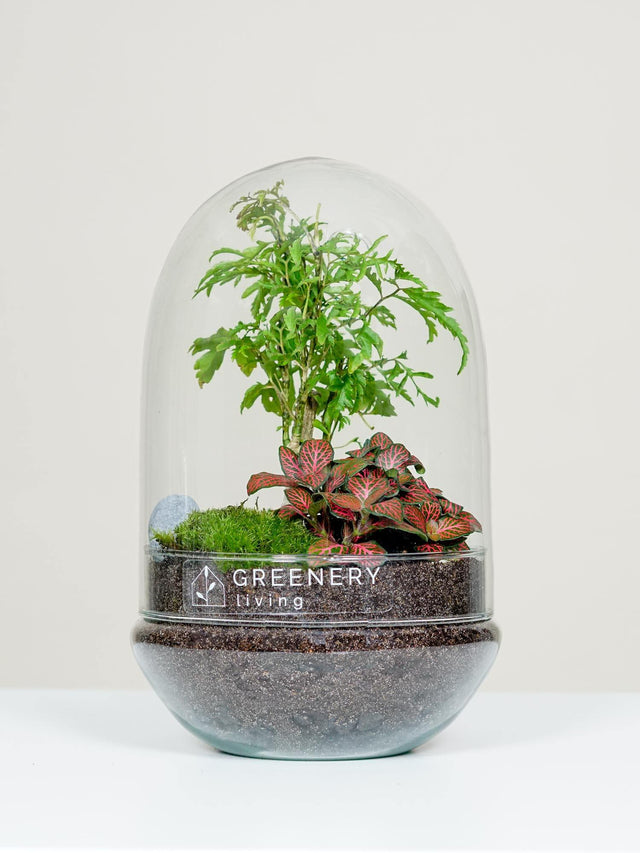
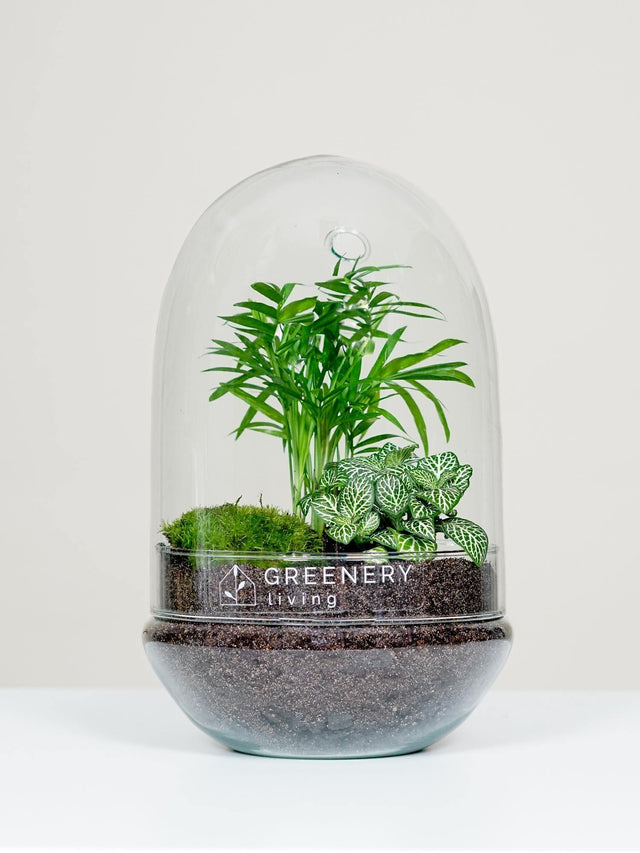
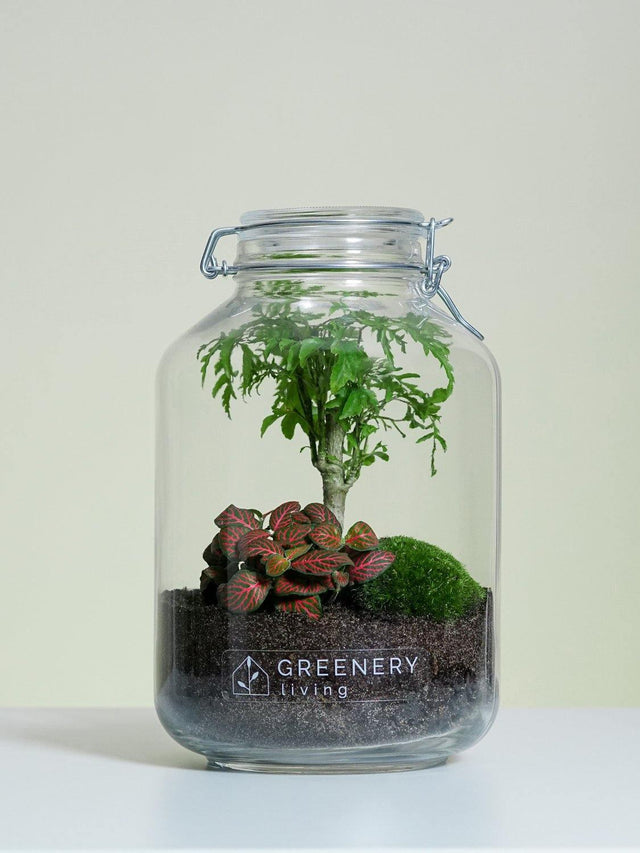
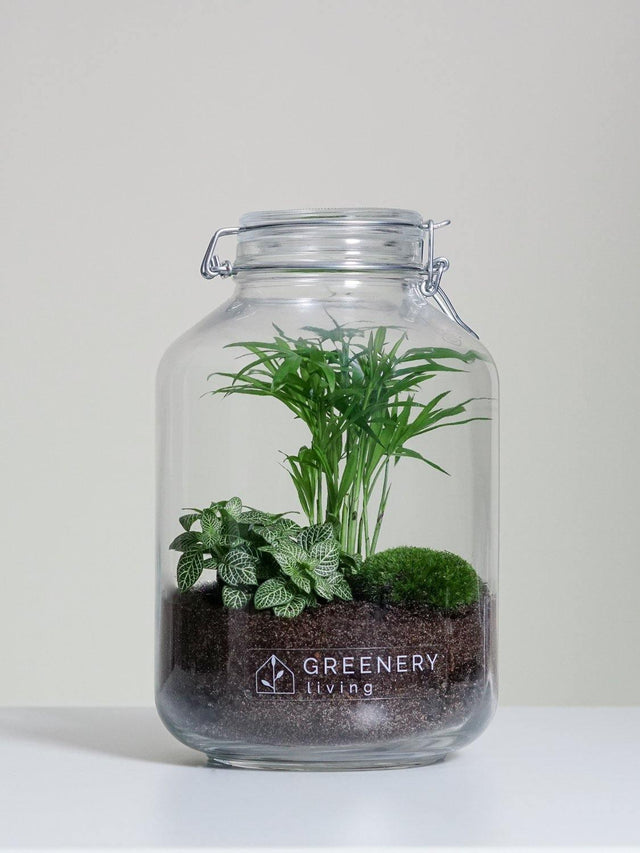
Tip: Place the tallest plant last, as centrally as possible, so that there is plenty of space for your hands in the glass.
STEP 6

STEP 7

STEP 8

With a soft cloth, carefully clean the glass from inside and outside of dirt and dirt. The leaves of the plants can be cleaned of dirt, for example, with a small brush. If necessary, particularly high shoots of the central plant can be cut off with scissors.
STEP 9

Use a measuring cup to measure out 100 ml of low-calcium water (ideally rainwater) and spread it carefully and evenly in the glass. Then close the jar and place it in a bright but not sunny place (ideally a north or east window).
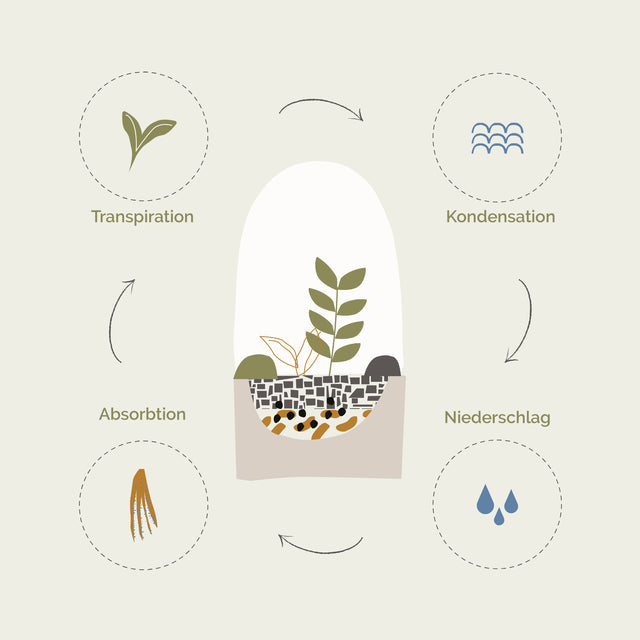
STEP 10

After about 2 to 3 days, the moisture is evenly distributed in the soil. Then open the jar again for about 24 hours until the surface moisture has evaporated. Repeat this process until the glass no longer fogs up during the day. A light mist in the morning is normal and shows that the biotope is working well.


1 Comment
Ich möchte meinen Flaschengarten neu bepflanzen. Kann ich dafür auch nur den Inhalt (ohne Glas) bestellen? Z.B. Typ 5?
Herzliche Grüße