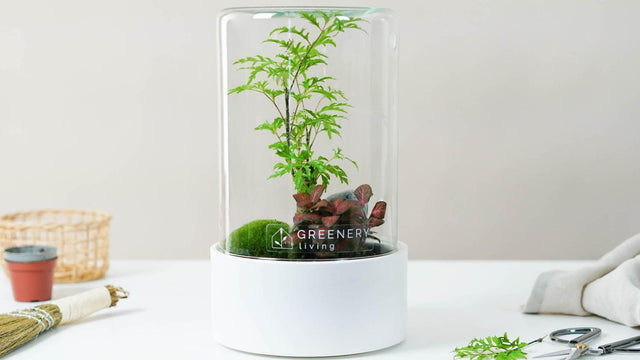
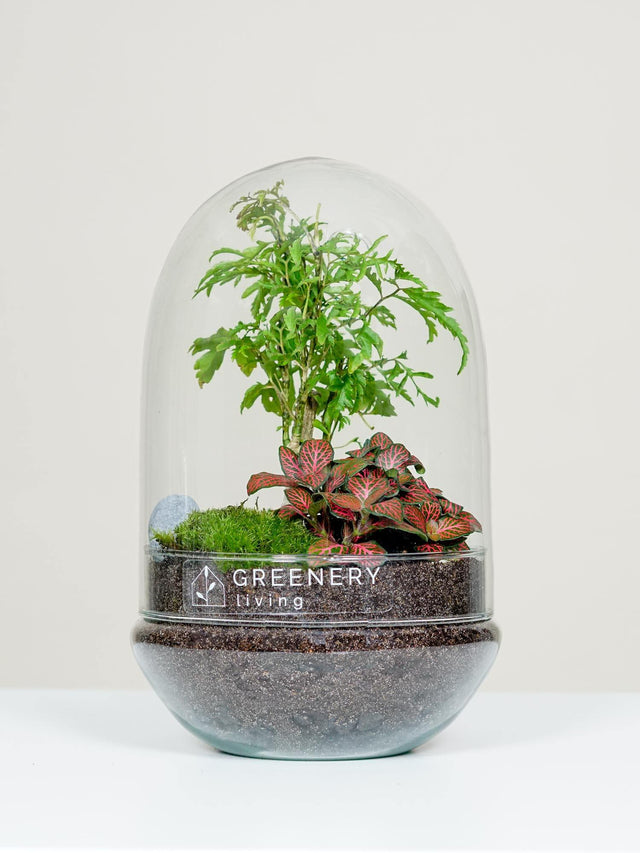
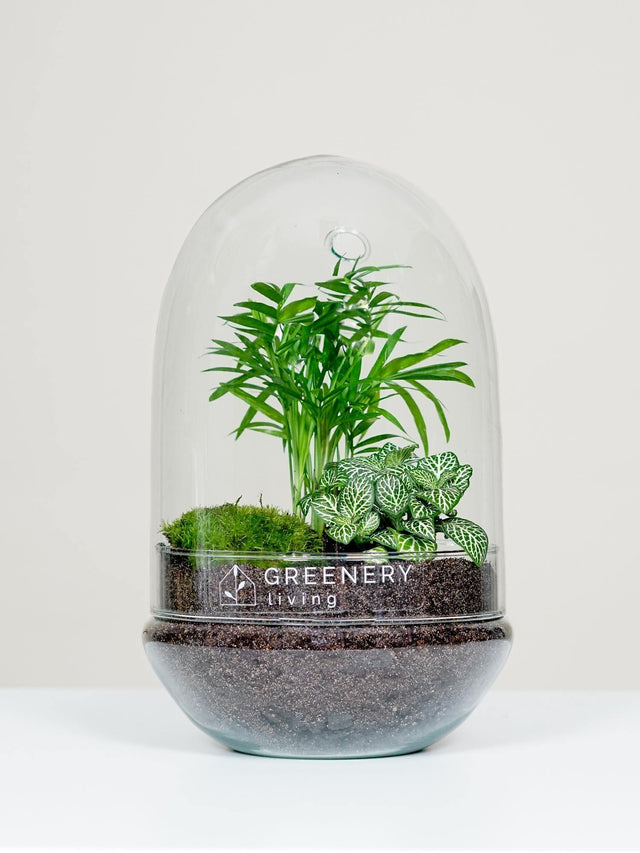
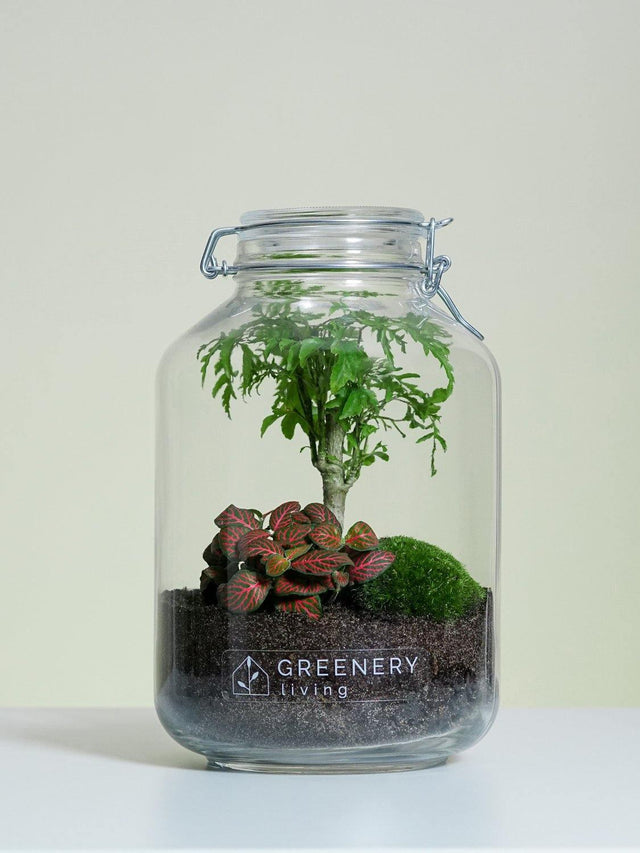
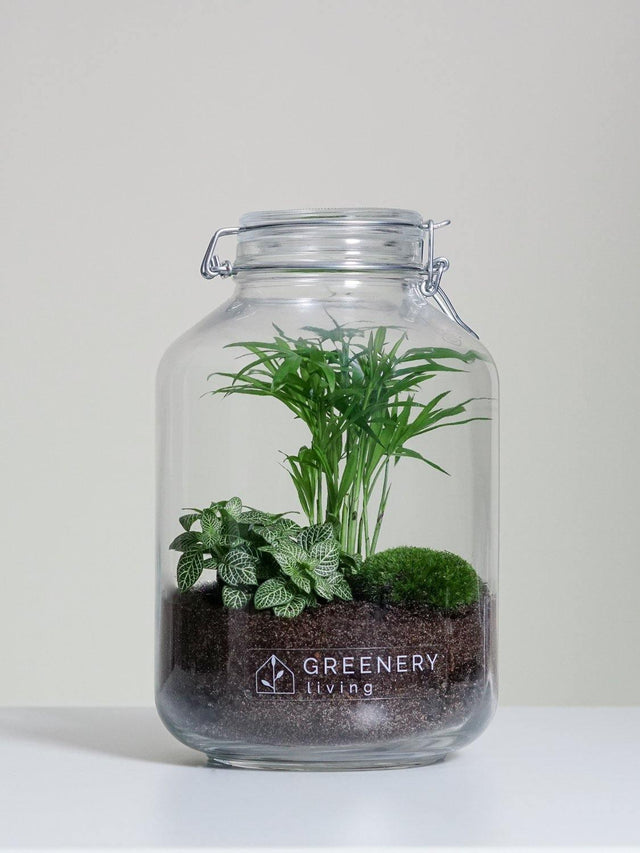
How do I create a CERA bottle garden? Step-by-step instructions for CERA series
Before creating your first bottle garden, ask yourself: How much soil do I need? Which drainage is best? Are the plants starting to get moldy? How do you create the perfect ecosystem so that it works? We have made countless attempts to achieve the perfect operations. And to make it easier for others, we put together a set that worked best based on our tests. We would like to share this with you in the following guide.
Step 1

Carefully fill in the lava gravel from bag A as a drainage and distribute evenly in the ceramic bowl.
Step 2

Distribute the activated carbon from bag B evenly over the lava gravel to prevent mold growth.
Step 3

Carefully fill in the plant substrate specially mixed by us from bag C.
Tip: Please use an underlay, e.g. old newspaper, to prevent soiling.
Step 4

Compact the plant substrate carefully and evenly by hand and then dig a planting hole (3 are required in total) with your fingers, which is deep to the lava gravel.
Tip: A previously created sketch for the arrangement helps.
step 5

Remove the plant from the flower pot by pushing it sideways and standing upside down and place it in the hole. Press carefully but firmly on all sides.
Tip: Use the tallest plant as centrally as possible.
step 6

Similar to steps 4 and 5, two additional holes are required for the mini plant or moss, in which these can be inserted.
Then compact the plant substrate from all sides with your fingers.
step 7

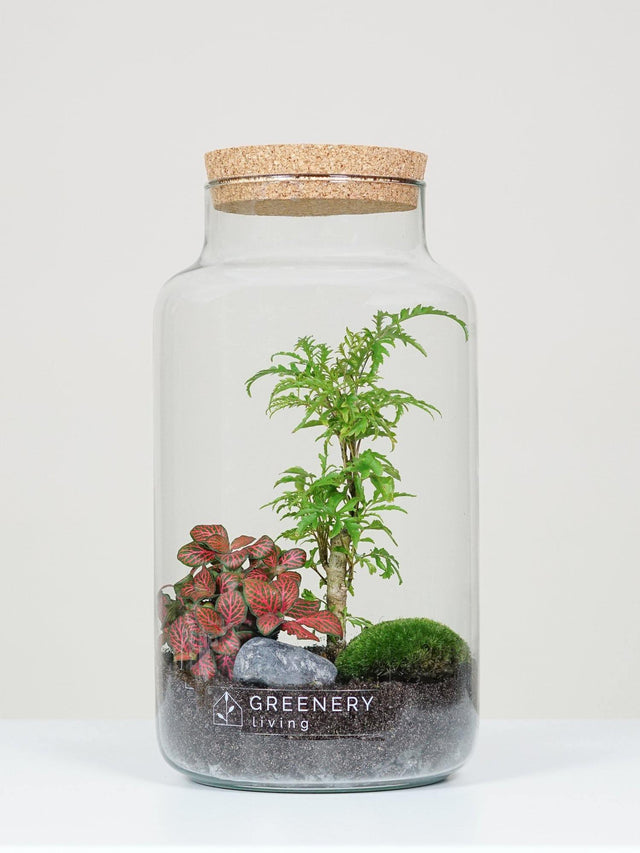
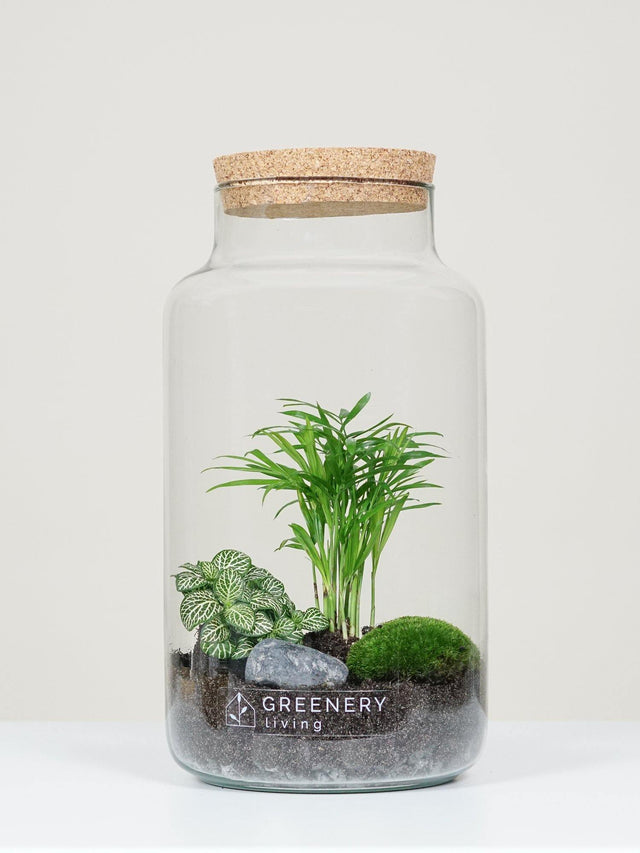
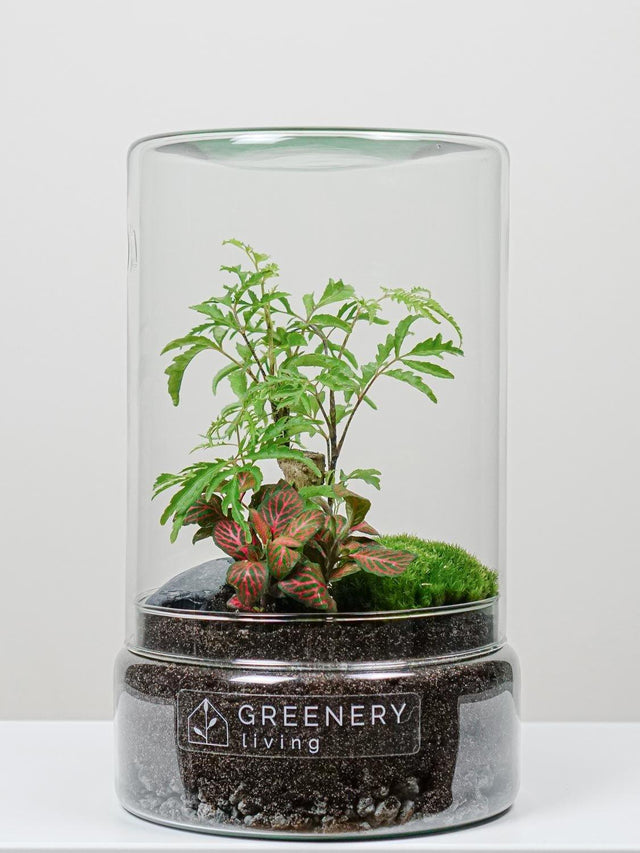
Carefully place the decorative stone on an open space and press lightly. If necessary, particularly high shoots of the central plant can be cut off with scissors.
Tip: The mini plant, moss and decorative stone form a triangle around the middle plant for even distribution.
step 8

Use a measuring cup to measure out 100 ml of low-calcium water (rainwater is ideal) and distribute carefully and evenly in the planting bowl. Then close the glass lid and set it up in a bright but not sunny place (ideally a north or east window).
step 9
Distribute the decorative gravel from bag D on the visible plant substrate.
step 10

After about 2 to 3 days, the moisture is evenly distributed in the soil. Then open the jar again for about 24 hours until the surface moisture has evaporated. If necessary, repeat step 10 (approx. 3 – 4 times) until the glass no longer fogs up during the day. A light mist in the morning is normal and shows that the biotope is working well.


3 Comments
Irgendwie kommen mir Schritt 8 und 9 nicht ganz sinnvoll vor. Erst gießen, verschließen, dann wieder öffnen um den Dekokies zu verteilen. Hab ich da was falsch verstanden? Wie auch immer…ich hab den CERA-Flaschengarten meiner Tochter zu Weihnachten geschenkt, die Freude war groß. Das Bepflanzen war schon eine kleine Herausforderung, da wir alles ganz genau machen wollten. Mal sehen wie sich unser Garten entwickelt – wir sind gespannt.